
Last updated November 22, 2026
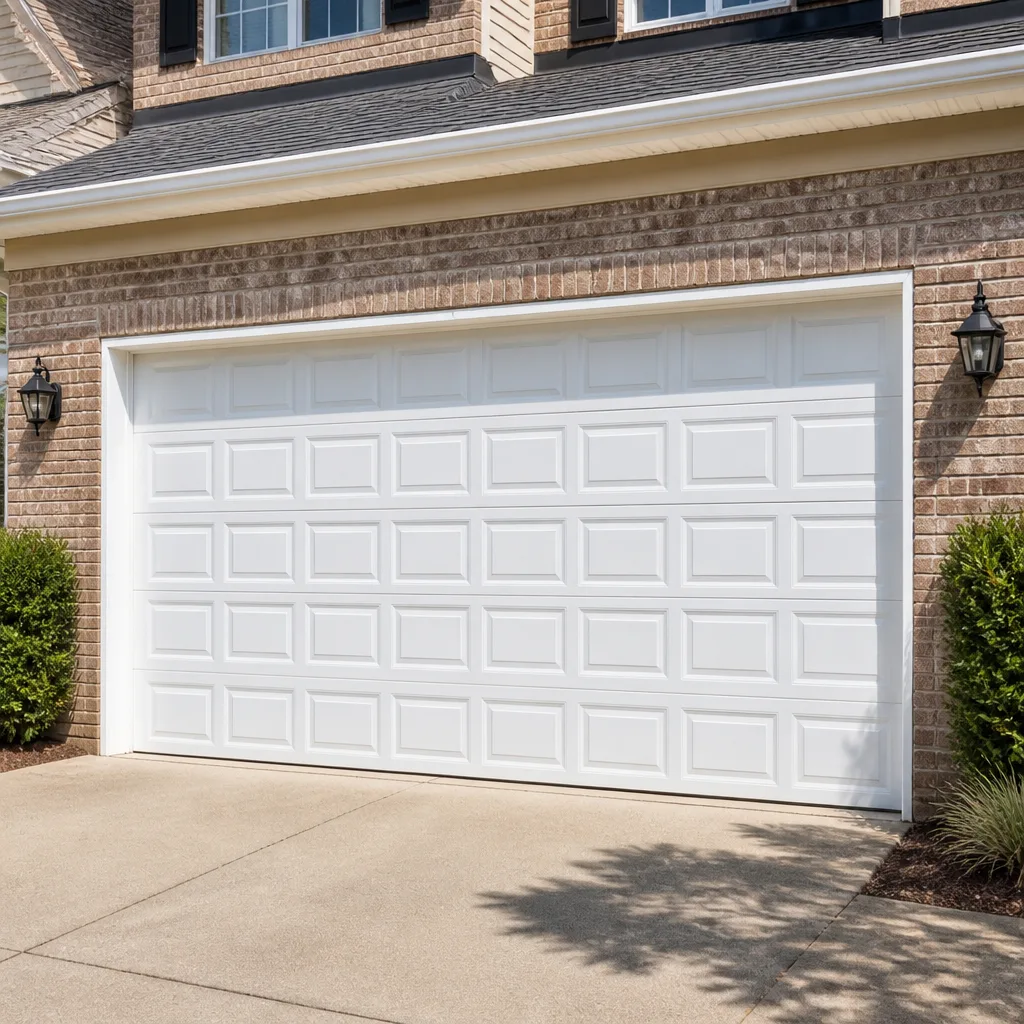 Raised-panel steel
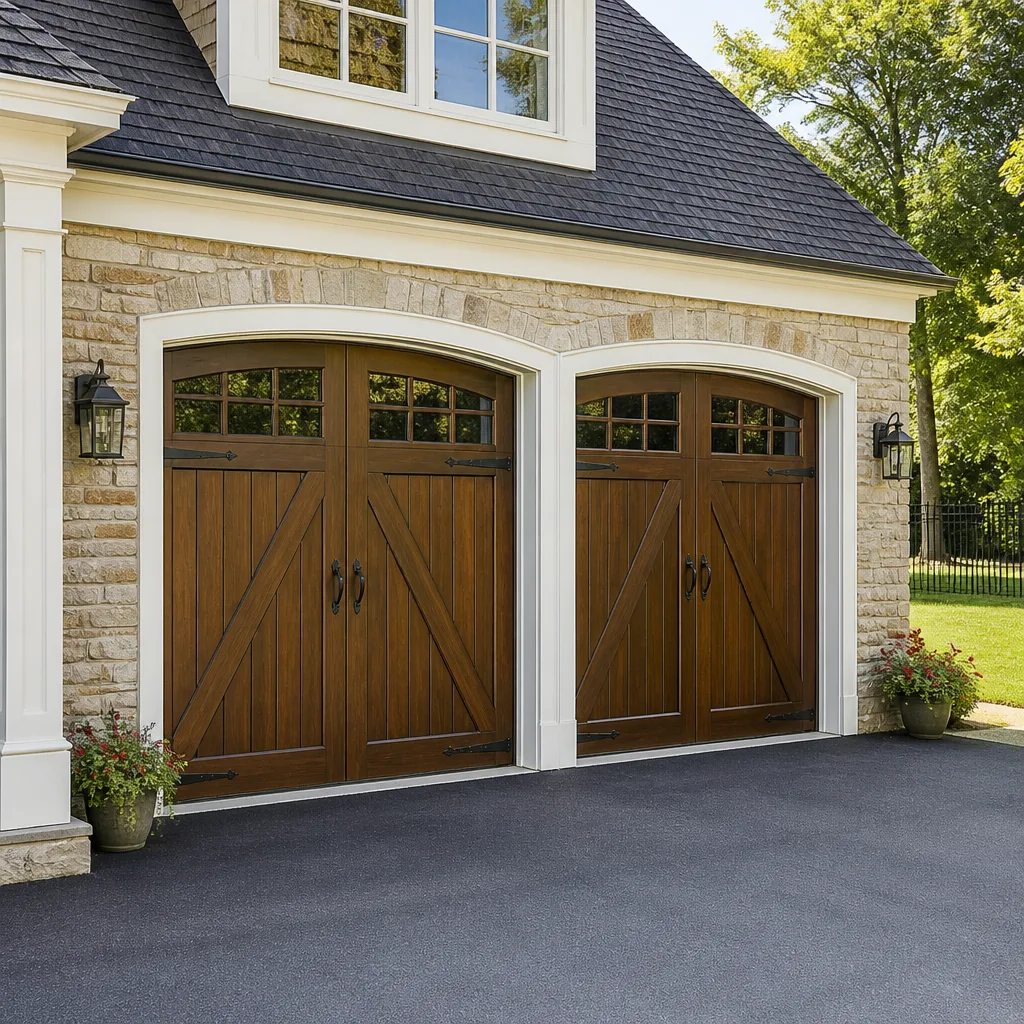 Carriage house
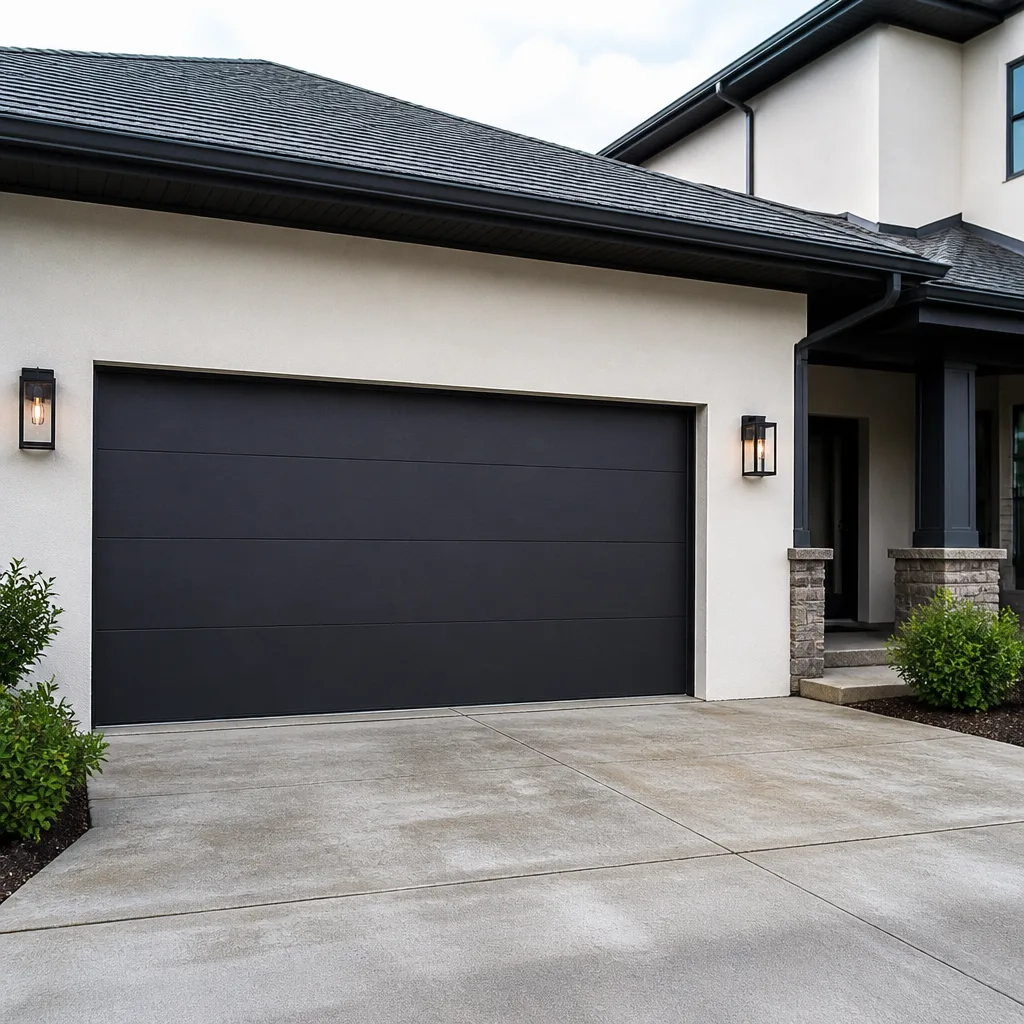 Modern flush
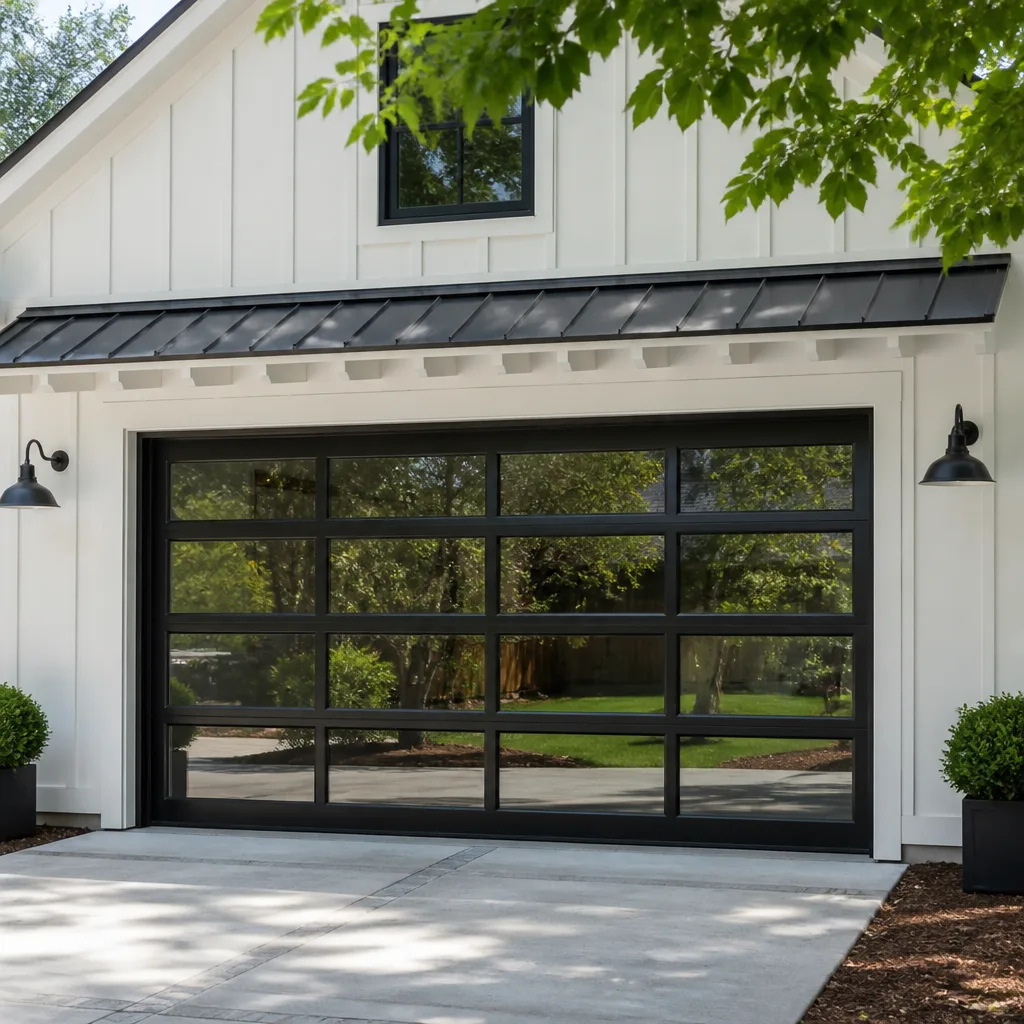 Full-view glass
 LiftMaster openers
 Chamberlain openers
Full 25-point door and opener safety check with every visit - springs, cables, rollers, tracks, and your LiftMaster or Chamberlain opener included
You get a price before we start. It does not change when the pro arrives.
Get your free estimateGarage Door Repair Maintenance Checklist for Haverhill Homeowners
Most garage door failures don’t announce themselves. They build up quietly for weeks – a little more noise here, a slower close there – until one morning the door stops halfway and won’t budge. The checklist that prevents those mornings isn’t a long one. In our experience, about 20 minutes of focused attention every few months catches the small problems before they turn into the ones that strand your car inside. What follows is a maintenance guide built around the failure patterns we actually see in Haverhill, Massachusetts: what fails here, when it fails, and the handful of tasks that genuinely matter versus the ones you can skip.
Quick Answer
A garage door maintenance checklist for Haverhill homeowners should cover five things: a monthly visual inspection of springs, cables, rollers, tracks, and hinges; lubrication of moving parts (especially torsion spring coils and roller stems, not the tracks); a monthly auto-reverse and photo-eye safety test; seasonal professional checks before winter and after the spring thaw; and a 10-second paper test for bottom seal integrity. Most breakdowns show warning signs weeks before failure, so the goal is catching one thing early, not being exhaustive.
Styles & brands we work with
- Raised-panel steel
- Carriage house
- Modern flush
- Full-view glass
- LiftMaster openers
- Chamberlain openers
Table of Contents
- The Five-Point Monthly Visual Inspection
- Lubrication: What to Oil, What to Leave Alone
- Testing Auto-Reverse and Photo-Eye Sensors Correctly
- Haverhill Seasonal Timing: Before Winter and After Thaw
- The Paper Test for Bottom Seal Integrity
- The Balance and Manual-Operation Check
- Opener and Remote Maintenance
- What a Professional Check Covers That You Can’t
The Five-Point Monthly Visual Inspection
This takes under three minutes and requires no tools and no touching of any component. You’re looking, listening, and noting. If anything on this list looks off, that’s your cue to stop operating the door and call for garage door repair rather than pushing through.
- Springs. Look at the torsion spring (mounted on the shaft above the door) or the extension springs (running alongside the horizontal tracks). You’re checking for visible gaps, stretched sections, or a spring that hangs loose. A broken torsion spring usually shows a clean split about a third of the way along its length. Extension springs should have safety cables running through them – if the cables are missing, that’s a call-us-now situation.
- Cables. The lift cables run from the bottom corners of the door up to the drum on the shaft. Look for fraying, kinks, or slack. A cable with even one broken strand is weakened and needs replacing.
- Rollers. With the door closed, look at the rollers sitting in the tracks. They should be round and seated. A cracked nylon roller or a wobbly steel one is a cheap fix now and a stuck door later.
- Tracks. Stand back and sight down each vertical and horizontal track. They should be straight and parallel. Dents, bends, or sections that look out of alignment are usually from impact, and a bent track forces the rollers to bind.
- Hinges and hardware. Glance at the hinges connecting door panels and the brackets holding the tracks. Look for loose bolts, cracks in the metal, or rust bubbling at the joints. Wiggle a hinge gently – it shouldn’t move.
One more thing in those three minutes: listen. Open and close the door once and pay attention to the sound. A door that’s been quiet and suddenly has a rhythmic squeak, a grinding note, or a bang at the end of travel is telling you something. Noise is the earliest warning sign we encounter in Haverhill homes, and it usually points to a lubrication issue or a worn roller before it points to anything expensive.
Lubrication: What to Oil, What to Leave Alone
This is where most homeowners get it backwards. They spray lubricant on the tracks because that’s the part that looks like it needs it, and they skip the parts that actually do. Here’s the correct map.
Lubricate these
- Torsion spring coils. A light coat of white lithium grease or a dedicated garage door lubricant on the coils reduces friction between the coils as the spring winds and unwinds. This is the most commonly skipped lubrication point and one of the most useful. Do this with the door closed and the spring under tension – spray lightly, don’t touch, and never put your hand near the spring.
- Roller stems. The bearing inside each roller and the stem it rides on need lubrication, not the roller’s outer surface. A drop of lubricant at each roller stem keeps them turning freely instead of skidding.
- Hinges and pivot points. A quick spray at each hinge joint and the pivot points on the top and bottom brackets.
- The opener’s rail and chain or belt. Follow the manufacturer’s guidance for your specific opener. LiftMaster and Chamberlain units, for example, typically call for light lubrication on the rail, while belt-drive systems from Genie usually need less. If you’re unsure, the owner’s manual for your model is the right source.
Don’t lubricate these
- Tracks. The door’s rollers are designed to roll inside the tracks, not slide. Grease in the tracks attracts grit and dust, which turns into a grinding paste that wears the rollers and gums up the works. Keep tracks clean and dry. Wipe them down with a damp cloth if they get dirty.
- Photo-eye lenses. A greasy fingerprint on the sensor lens is a common cause of phantom safety reversals. Clean with a dry cloth only.
- The bottom seal. Lubricant degrades the rubber or vinyl.
Use a purpose-made garage door lubricant rather than general-purpose WD-40, which is a solvent and displaces the lubricant you actually want. Twice a year is enough for most Haverhill doors, and it’s worth doing it right before the cold sets in.
Testing Auto-Reverse and Photo-Eye Sensors Correctly
This is the safety test most homeowners think they’re passing but aren’t. It’s also the one that matters most, because a door that doesn’t reverse properly is a hazard to anyone standing under it – a child, a pet, a delivery driver.
The photo-eye test
The photo-eye sensors are the two small lenses mounted on brackets near the floor on each side of the door opening. One sends an invisible beam, the other receives it.
- Close the door and watch the indicator lights on both sensors. Most units have a small LED that stays solid when the beam is aligned. A blinking light usually means misalignment or an obstruction.
- With the door open, wave a broom handle or similar object across the beam path while the door is closing. The door should reverse immediately and return to the open position.
- Do this test from a few different angles and heights to confirm the beam is genuinely being interrupted, not just the sensor nudged.
A passing test means the door reverses the moment the beam breaks and the sensors’ indicator lights are solid. If the door only reverses when you block the beam very close to the sensors, the alignment is off.
The auto-reverse test
This tests the door’s mechanical force sensor, which is separate from the photo-eyes.
- Lay a piece of 2×4 lumber flat on the floor in the center of the doorway.
- Close the door. When it contacts the board, it should reverse and return to open.
- If it stops on the board without reversing, the force setting is too high, and it needs adjustment.
Do this test monthly, and any time someone bumps a sensor or the door takes an impact. Our technicians run this exact sequence on every opener diagnostic for garage door opener repair, because a pass here is a genuine pass – and a “close enough” is not. If your opener is a LiftMaster or Chamberlain model, the force adjustment is usually a small screw on the back of the motor housing, but consult your manual: setting it too sensitive causes false reversals, and setting it too high defeats the safety feature.
Haverhill Seasonal Timing: Before Winter and After Thaw
Haverhill’s climate puts your garage door through two distinct stress cycles a year, and each one calls for a different kind of attention. The failures we see here aren’t random – they cluster.
Before winter (late October to mid-November)
This is your most important professional check of the year. Freeze-thaw cycles are hard on door hardware, and the first hard freeze of a Massachusetts winter is when weak points give out. Schedule a professional inspection before the cold sets in to cover:
- Spring tension and coil condition, since cold makes metal more brittle and a marginal spring is more likely to fail.
- Bottom seal condition, since a dry, cracked seal lets cold air in all winter.
- Weatherstripping around the door frame.
- Lubrication of all moving parts with a cold-rated lubricant.
- Opener force settings, which many units need adjusted for the added resistance of a colder door.
After the spring thaw (late March to mid-April)
The freeze-thaw cycle works on your door’s frame and tracks as much as on the driveway. Ground movement, ice expansion, and a winter of heavy operation can throw tracks out of alignment and loosen hardware. A post-thaw check catches:
- Tracks that have shifted or developed bends from frost heave.
- Loosened hinges and brackets expanded and contracted by the cold.
- Rust developing on exposed metal, especially door panels and springs.
- Bottom seals that have cracked or torn over the winter.
- The overall balance of the door, which can drift over a season of temperature swings.
If you only schedule one professional visit a year, make it the pre-winter one – but the post-thaw check is where the cost savings usually land. A small track adjustment in April costs far less than the repairs a bent track causes by August. For doors serving as the primary entrance, an annual visit in each window is worth it.
The Paper Test for Bottom Seal Integrity
Here’s a 10-second diagnostic that tells you whether you’re losing heat through your garage door. It doesn’t require tools and it’s the single most useful energy check on the entire list.
- Close the garage door fully.
- Take a sheet of ordinary paper and slide it under the bottom edge of the door at several points across the width – the center, both sides, and somewhere between.
- Let go of the paper.
If the paper slides out easily at any of those points, the bottom seal isn’t making contact with the floor. That gap is exactly where cold air enters in winter and where your heated air was leaking out. On a Haverhill door, that’s the difference between a garage that stays a few degrees above freezing and one that ices up around the edges.
The causes fall into three categories. The seal itself may be worn flat, cracked, or torn, in which case replacement is straightforward. The door may not be closing all the way, in which case the travel limits on the opener need adjustment. Or the floor may be uneven under the door, in which case a slightly thicker seal, or a threshold strip, solves it. A seal replacement is one of the least expensive jobs on a garage door and one of the highest-impact for winter comfort. Do the paper test at the start of fall and again in mid-winter – seals that test fine in October can fail after a few freeze cycles.
The Balance and Manual-Operation Check
A garage door that isn’t balanced forces your opener to do work the springs should be doing. That wears out the opener faster and puts strain on the door’s hardware. You can check this yourself, carefully, with a few ground rules.
First, disconnect the opener using the emergency release cord – usually the red handle hanging from the carriage. Never run this test with the opener engaged. Then lift the door about halfway and let it go. A balanced door should stay roughly where you left it, or drift very slowly. If it slams down or flies up, the springs are out of balance.
Next, lift the door fully by hand to check how much force it takes. A properly balanced single-car door can be lifted with one hand and a slight pull. If you’re leaning into it, the springs have lost tension or the door’s tracks and rollers are binding. Lower it slowly and re-engage the opener when you’re done.
A safety caveat here, and it matters: never adjust, wind, or unwind a torsion spring yourself. The springs are under extreme tension and can cause serious injury if a winding bar slips or a spring lets go. If the door fails the balance test, that’s a sign the spring system needs professional attention from a trained technician, not a homeowner adjustment. Our technicians handle these routinely as part of garage door spring repair, and it’s the one task on this entire guide you should always hand off. The same goes for replacing any lift cable – the cables carry the door’s full weight and are equally dangerous.
Opener and Remote Maintenance
Your opener doesn’t need much, but the small things matter. Start with the owner’s manual for your specific model – a Wayne Dalton or Raynor residential operator will have different adjustment points than a Chamberlain smart opener, and treating them the same causes problems.
- Test every remote and keypad monthly. Weak batteries cause intermittent operation that feels like an opener fault. Replace batteries annually whether or not they’ve failed.
- Check the opener’s wall control. The lock and light functions should respond immediately. Delay or unresponsiveness usually points to a wiring issue or aging control unit.
- Clear the safety sensor lenses. A spider web or a smudge can break the beam and cause the door to reverse or refuse to close. This is the most common “my door won’t close” complaint we get in Haverhill, and it’s usually a two-minute fix.
- Watch the opener’s indicator light. Most modern units flash a diagnostic code pattern when there’s a fault. The owner’s manual will translate it, and knowing the code saves diagnostic time.
- For smart openers connected to an app, check that the unit is still online and reporting correctly. A unit that’s dropped off the network isn’t monitoring open/close events, which matters for security.
If your opener is more than a few years old and acting up – grinding, reversing randomly, or failing to respond to remotes – resist the urge to replace it first. A large share of “failed” openers are actually repairable: a bad logic board, a failed capacitor, or a worn gear. We work on LiftMaster, Chamberlain, Genie, and Craftsman systems regularly, and diagnosing before replacing saves real money.
What a Professional Check Covers That You Can’t
A thorough professional inspection goes beyond what this checklist can cover, and there’s a good reason: some of it can’t be done safely by a homeowner. When a technician comes out for a maintenance visit, here’s what’s on the list:
- Spring tension measurement. A technician measures the actual tension in both torsion and extension springs against the door’s weight and adjusts or replaces them as needed. This is the highest-risk task on any garage door, and it’s also the one that most affects how long the rest of the system lasts.
- Cable and drum inspection. A close look at the lift cables, their wear points, and the drums they wind onto – including checking for the fraying and kinking you can’t easily see from the ground.
- Roller and hinge replacement. Worn rollers and hinges get swapped out before they damage the tracks.
- Track alignment. A technician straightens or replaces bent tracks and confirms the door runs true.
- Balance test with proper adjustment. The professional version of the balance test this guide describes, followed by a spring tension adjustment instead of a call to the homeowner.
- Weatherstripping and bottom seal replacement, including fitting a new seal to an uneven floor.
- Opener service and force adjustment, including the safety reverse settings checked against manufacturer specifications.
A door you use every day is worth a professional eyeball once a year, and a spring system that passes all the homeowner checks can still be one or two fatigue cycles away from failure. That’s the part of the check that catches the expensive problems before they happen.
Common Mistakes to Avoid
- Greasing the tracks. This is the most common lubrication error. Tracks should stay clean and dry. Grease attracts grit that grinds away your rollers.
- Skipping the spring coils when lubricating. The coils are under tension, so they get overlooked – but they’re the highest-wear point on the system. A light coat twice a year extends their life.
- Adjusting the opener force to fix a hard-closing door. If the door is hard to move by hand, the problem is the springs or the tracks, not the opener. Turning up the force just forces a failing system to work harder. Adjusting a force setting higher than the manufacturer’s spec also weakens your child-safety system.
- Testing the balance with the opener still connected. This gives meaningless results and can damage the opener. Always pull the emergency release first.
- Assuming a “reverse” test is passing because the door stopped. The door needs to reverse, not just stop, and it needs to do so when it meets resistance – not after an apparent pause. If it stops before reversing, that’s a fail.
- Waiting until the door fails to schedule a service call. Haverhill winters expose weak hardware, and a failure in January in sub-freezing temps is a worse experience than a pre-winter adjustment in October.
- Replacing the opener when the real culprit is a sensor, a remote battery, or a worn gear. Diagnose before you replace. Plenty of “dead” openers are one part away from working.
See the difference
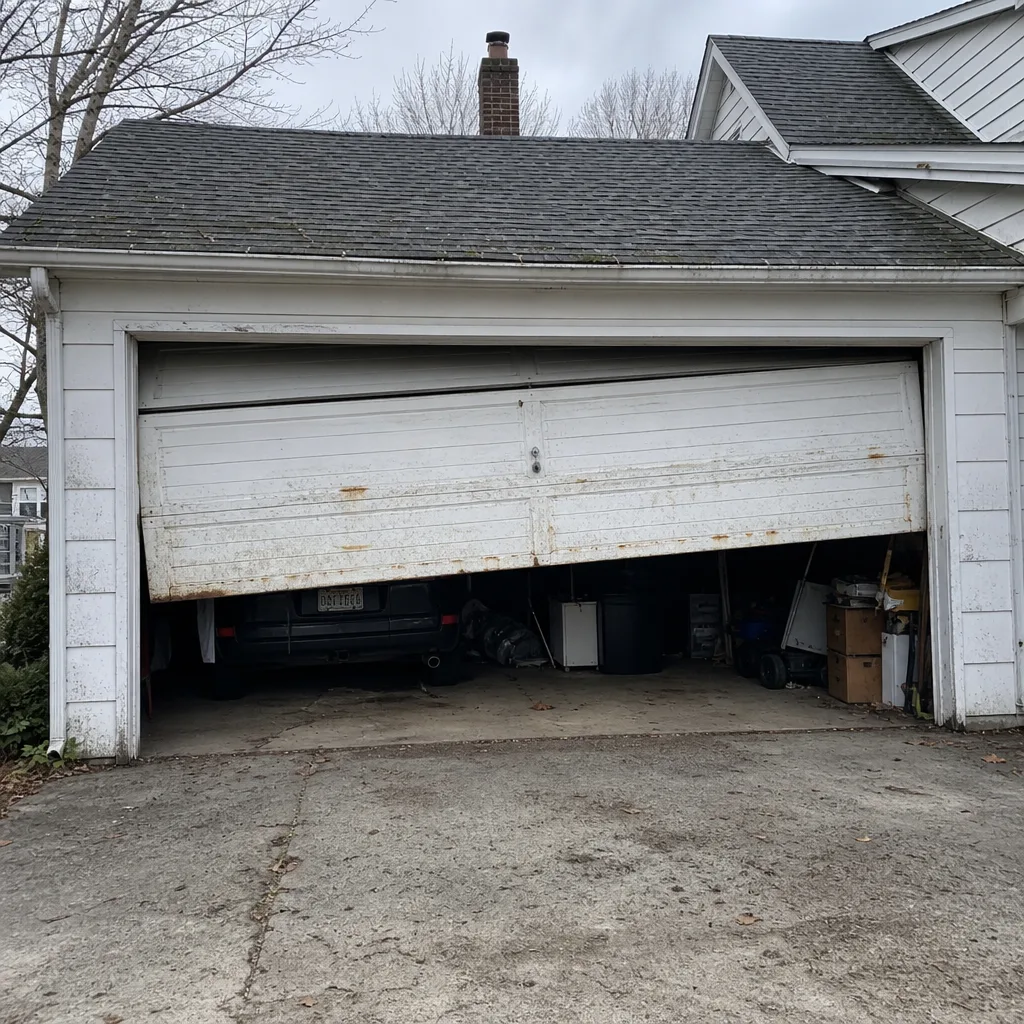 Before
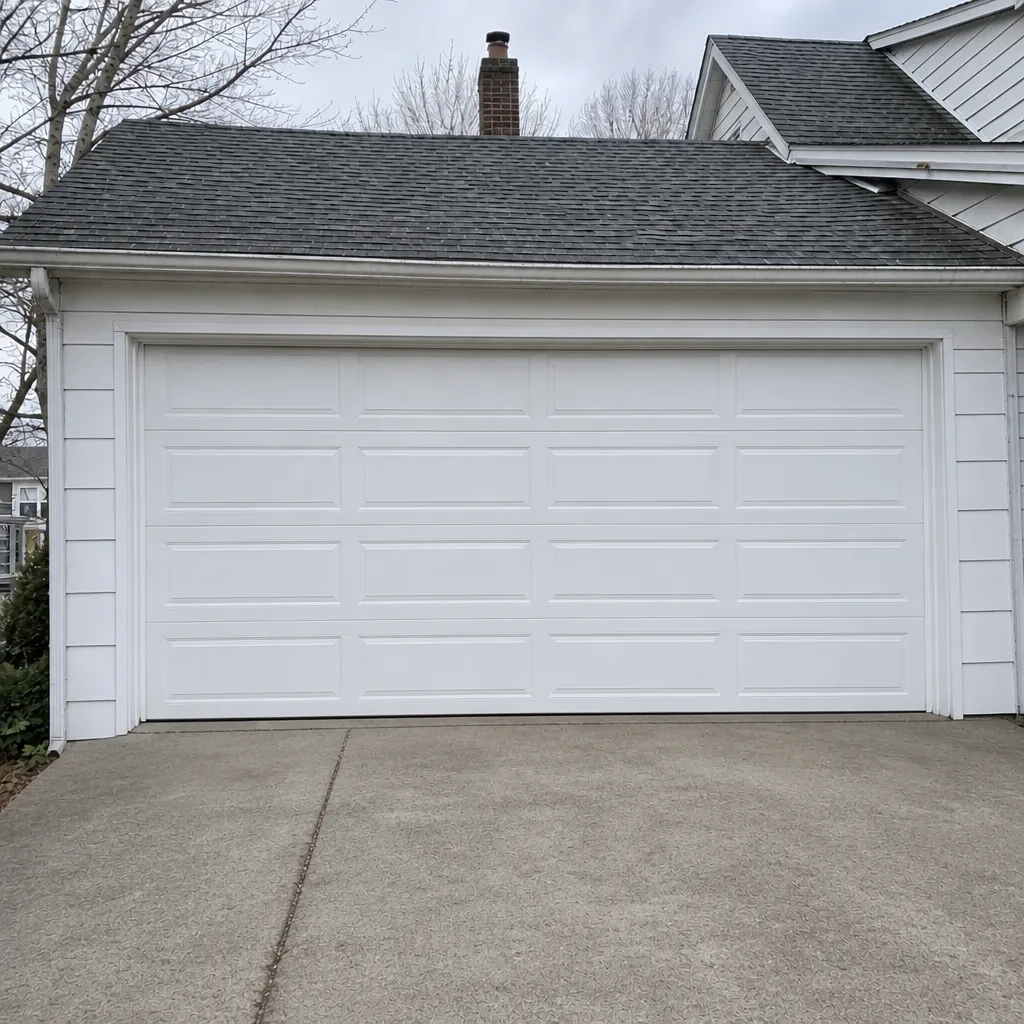 After
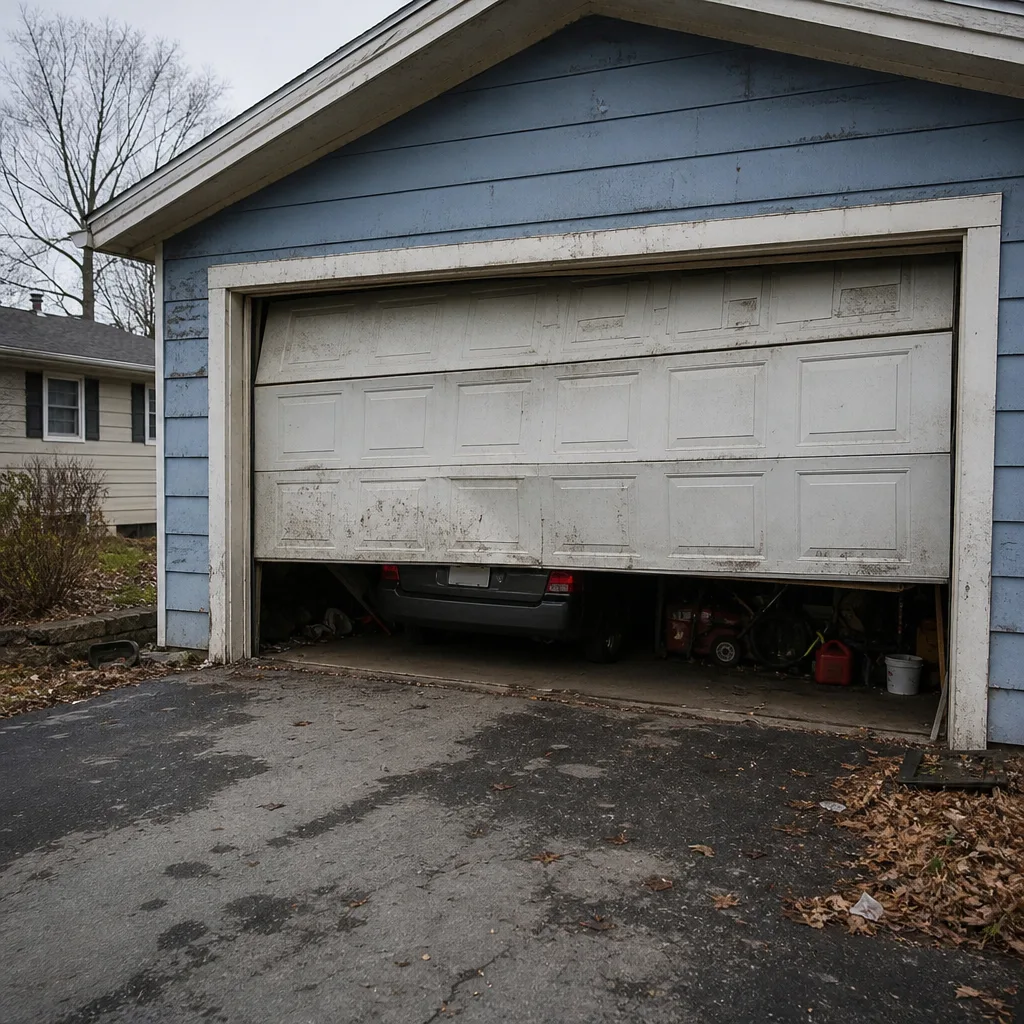 Before
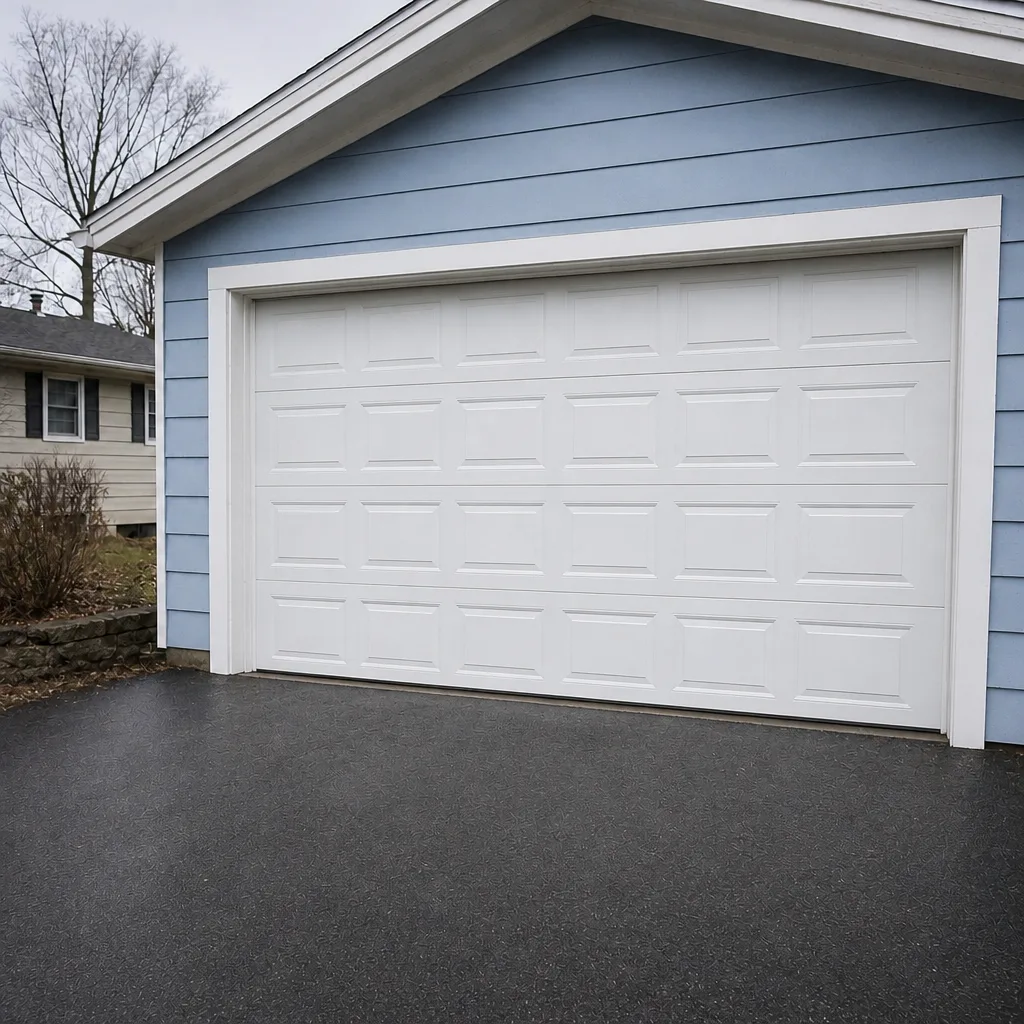 After
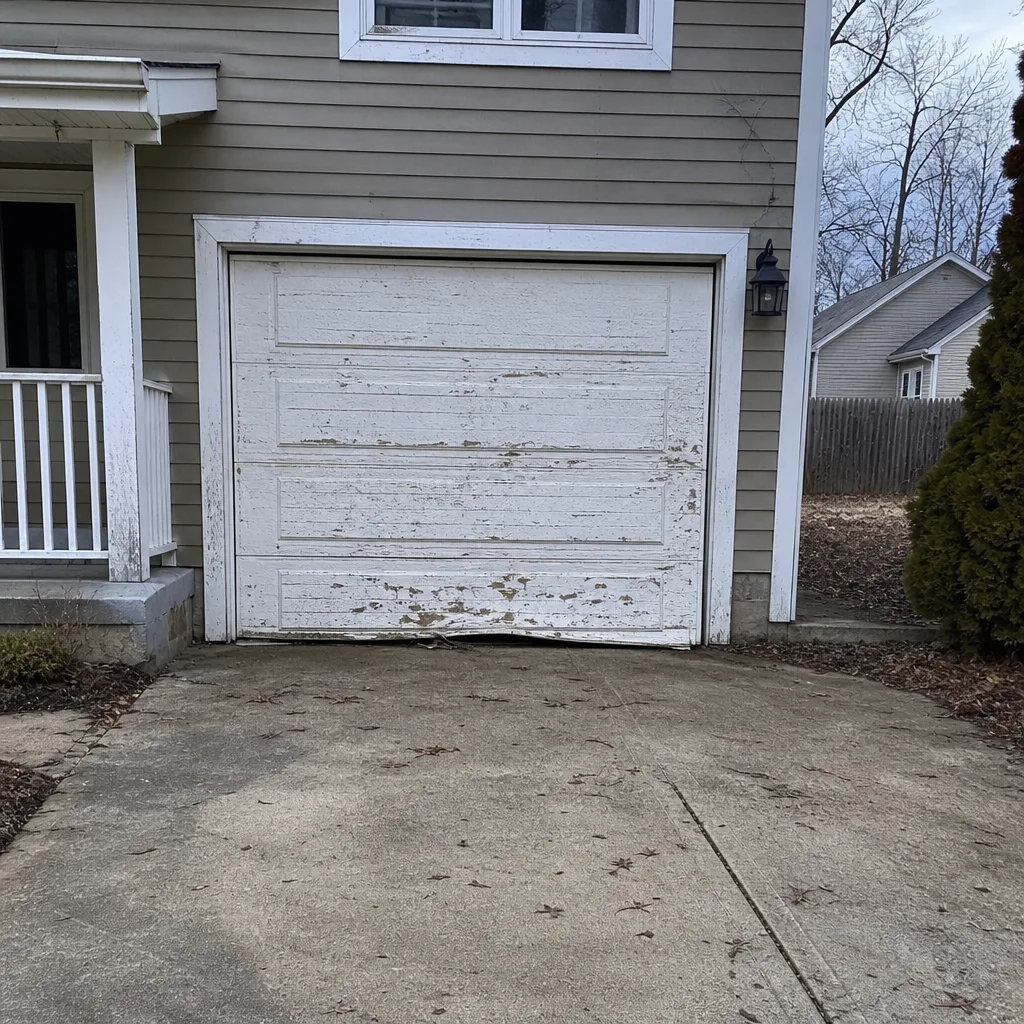 Before
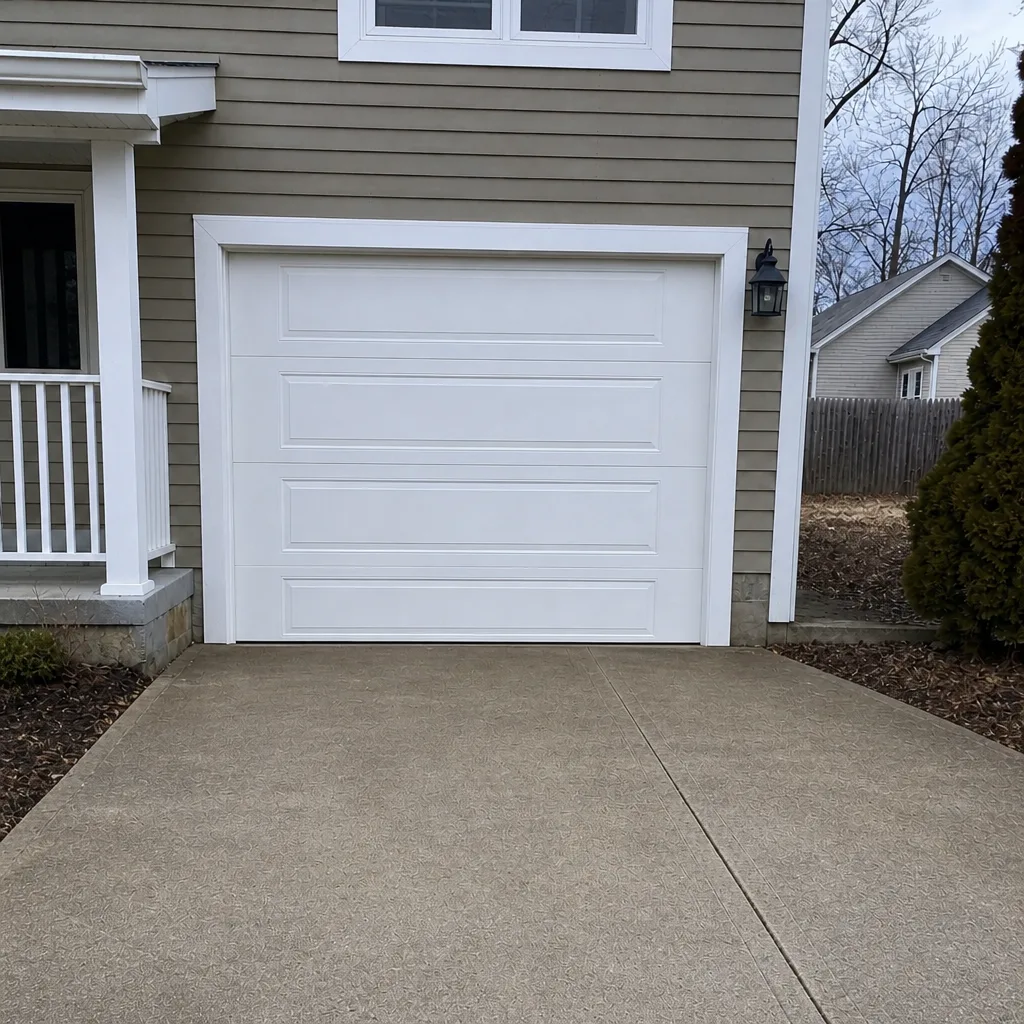 After
When to Call a Professional
Some things are checks. Some things are calls. Stop using the door and call for a professional service visit if you notice any of the following:
- A spring with a visible gap or split, or a door that feels extremely heavy when lifted by hand.
- A snapped or frayed lift cable.
- A door that won’t close or reverse properly after a sensor check.
- Tracks that are bent, or a door that jams partway through travel.
- A loud bang from the spring area, followed by the door failing to open at all.
- A door off its tracks, or hanging unevenly from one side.
Haverhill Garage Door Repair Co offers free estimates in Haverhill – call (833) 508-9650. We work on the brand already in your garage, across LiftMaster, Chamberlain, Genie, Clopay, Amarr, Wayne Dalton, Craftsman, and Raynor equipment, and our technicians have up to 12 years of experience. We answer 24/7. Fast dispatch from 7am to 7pm, Sunday through Friday. The price is set per job by the written estimate, so there are no surprises – we quote and agree on the work before we start.
Frequently Asked Questions
Monthly visual inspections take under three minutes and are the right rhythm for most Haverhill homes. Lubrication is a twice-a-year job – ideally once before winter and once after the spring thaw. A professional inspection is best scheduled annually, in the fall, to catch spring and hardware issues before the cold season. If you run a heavy-use door used by every family member daily, a second professional look in spring is worth it.
No. Torsion springs are under extreme tension and can cause serious injury if a winding bar slips or the spring releases unexpectedly. This is the one repair on any garage door that should always go to a trained technician. The spring replacement itself is routine for a professional – it’s not the lift, it’s the safety that carries the risk. Call (833) 508-9650 if you suspect a spring problem, and stop using the door.
In most cases, it’s a photo-eye problem. The sensors near the floor are misaligned, dirty, or blocked by an object. Clean the lenses, check that both indicator lights are solid (not blinking), and make sure nothing – a broom handle, a recycling bin, a pet – is in the beam’s path. If that doesn’t solve it, force settings or wiring may need checking. It’s the most common “won’t close” call we get in Haverhill, and it’s usually diagnosed in minutes.
Use the paper test. Close the door, slide a sheet of paper under the bottom edge at a few points, then let go. If the paper pulls out easily, the seal isn’t making contact and needs replacing. You may also see visible cracks, tears, or flattened sections. On a Haverhill door, a failing seal means cold air entering all winter, so it’s a small cost with a real payback.
Very likely. If the door loses its spring tension, the opener is lifting the full weight of the door, which is why it feels heavy when you test it by hand (with the opener disconnected). In our experience, a heavy-feeling door almost always points to a spring issue, not an opener failure. Don’t keep running it – the added load will wear out the opener and could damage the door hardware. Have it checked professionally before continuing to use it.
Yes. The freeze-thaw cycle is the leading local factor. It works on the door’s frame, tracks, and seals as much as on your driveway, and the stress is highest in the transition months. The three things we see most in Haverhill are seals that crack after a hard winter, tracks that shift from frost heave, and springs that fail during the first cold snap of the season. That’s why the seasonal timing in this checklist matters more than the tasks themselves – do the check before the cold, and again after the thaw.
The Bottom Line
Garage door maintenance isn’t about being thorough – it’s about catching the one thing that’s about to fail before it does. The five-point visual inspection, proper lubrication (springs and roller stems yes, tracks no), the auto-reverse and photo-eye tests, and the paper test for bottom seal integrity together take about 20 minutes and catch the vast majority of failures we see in Haverhill. Add a pre-winter professional check and a post-thaw look, and you’ve covered the seasonal risks this climate creates. The one thing you should never handle yourself is the spring system – it’s the highest-risk component on the door and always worth a trained technician’s time. For Haverhill Garage Door Repair Co, we cover repair, opener repair, spring repair, installation, and emergency work across LiftMaster, Chamberlain, Genie, Clopay, Amarr, Wayne Dalton, Craftsman, and Raynor equipment. If a check turns up something you’d rather have a professional handle, call (833) 508-9650 for a free estimate. We answer 24/7. Fast dispatch from 7am to 7pm, Sunday through Friday.
Written by the team at Haverhill Garage Door Repair Co.